Sheef for Android
Sheef allows you to easily create double-sided booklets containing you Google contacts. There are a number of sizes and styles to choose from.
You can download and install the latest Sheef version from the Google Play Store. Search for Sheef.
The first time Sheef starts you will be asked to authorise Sheef to access your contacts. This is necessary for Sheef to function, and is the only permission required.
Sheef does not retain, use or share these contacts with any person or site.
Using Sheef on Android
Sheef has one main screen which contains a number of tiles arranged vertically.

The title tile contains buttons for:
| Help | Directs to this website |
| Info | App info, such as version number and licencind information |
| Settings | These options are described on the Settings tab |
The Contacts tile displays the Google contacts account found on this device and the number of contacts in the account. Sheef will also attempt to discover any contacts stored on the local device as well as the SIM card.
Clicking on this tile will bring up a dialog to select the account to be used.
The SIM card cannot hold detailed contact information. If you have contacts listed here it is best to migrate them to your google contacts account before printing them in Sheef.
Papersize is the normal paper size you use in your printer. If Sheef can identify this device as having a US locale, then Letter will be automatically selected here. All other international locales will default to A4 paper.
If your printer has a different papersize, clicking on this tile will bring up a list of papersizes to chose from.
The Booksize is the booklet size which Sheef will generate. Tapping on this tile will bring up a list of different booksizes. Most books in this list have absolute dimensions, but you can also let Sheef chose the book width and height based on the Papersize selected.
Click on the EDIT SELECTED button to go to the booksize edit screen, where you can change the dimensions of the selected book. Unless you really need to modify any of the standard sizes, it is recommended to use the Custom book size for your own book.
Most books have absolute dimensions, but books with 0 specified for the width or height will default to using the Papersize
| Tall | This book uses standard orientation but with the usual two pages per side of paper. This produces a tall, slim book using the full paper size in the printer. |
| Landscape | Landscape is the same as Tall, but with the book printed in landscape orientation. Note that the Landscape option has to selected for this book's orientation. |
The Singlepage option will create a book using the full paper side for a single book page.
You can choose between a Monochrome/Black & White book, or one of the Sheef standard colourschemes.
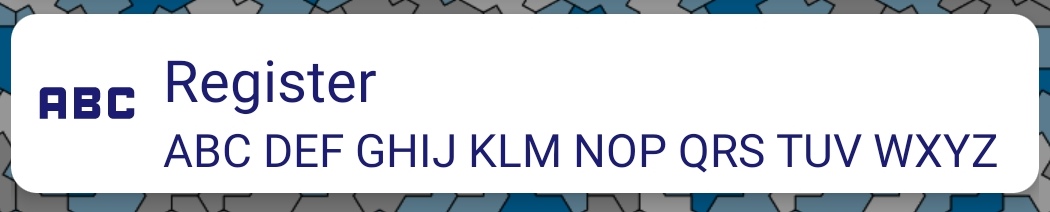
Address books do not usually dedicate a whole page or pages to each letter of the alphabet. Instead some less-common letters are grouped together and printed in the same section. These pages will often have a small tab or Register on the right-hand side page showing the letters or range of letters in that section.
Sheef can do the same. There are a number of collations available, some of which are explained here to give you an idea of how this function works:
| A B C ... X Y Z | One page per letter |
| ABC DEF GHIJ KLM NOP QRS TUV WXYZ | A 3/4 letter grouping which produces the fewest pages. |
| ABC ... IJ ... NO PQW S Sch St TUV ... XYZ | The last two are specific to the German language, where the letter S is broken down into 3 sub-sections. |
Simply try the various options to find a Register which best suits your needs.
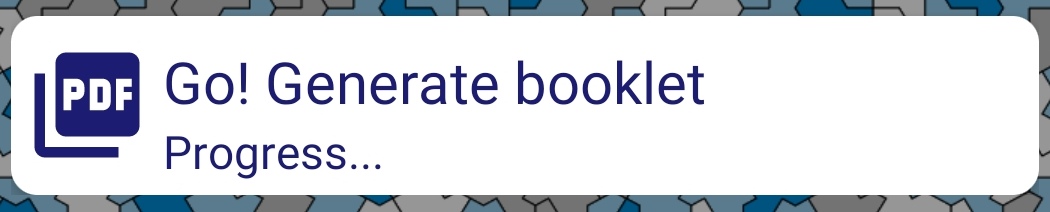
Having made your selections from the options above, tap this tile to start the generation of your booklet. A progress bar with information about the various stages is displayed. Your PDF is then displayed below for you to select for printing.
Repeating the generation process will add further PDF files to the list. You can select any PDF file in the list to print. The list will be cleared after the number of hours set in Settings.
Printing the generated PDF
Sheef delegates the job of printing to Android's printing or sharing mechanisms
Clicking on one of the generated PDFs brings up a contex menu:
| Start the default Android printer driver | |
| View | Print | Preview the generated pages before printing |
| Share | Brings up the standard Android Share options |
Duplex (two-sided) printers
Printing directly from Android to a two-sided (duplex) printer is the easiest way to print your Sheef booklet.
It can be useful to select only a few pages for testing at first. For example enter 1-4 in the Pages field to print only the first 4 book pages. This should be 2 sheets of paper.
Non-duplex (single-sided) printers
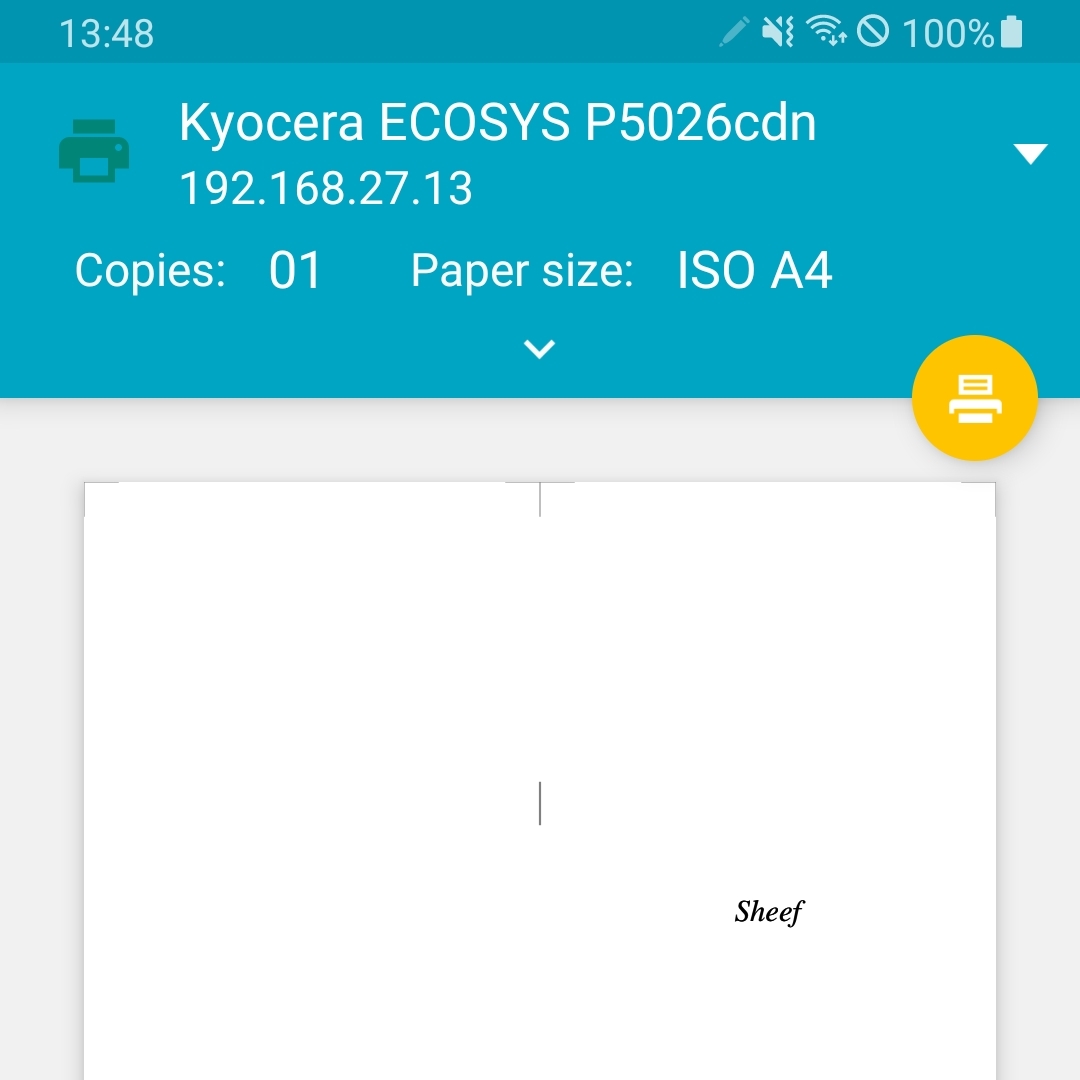
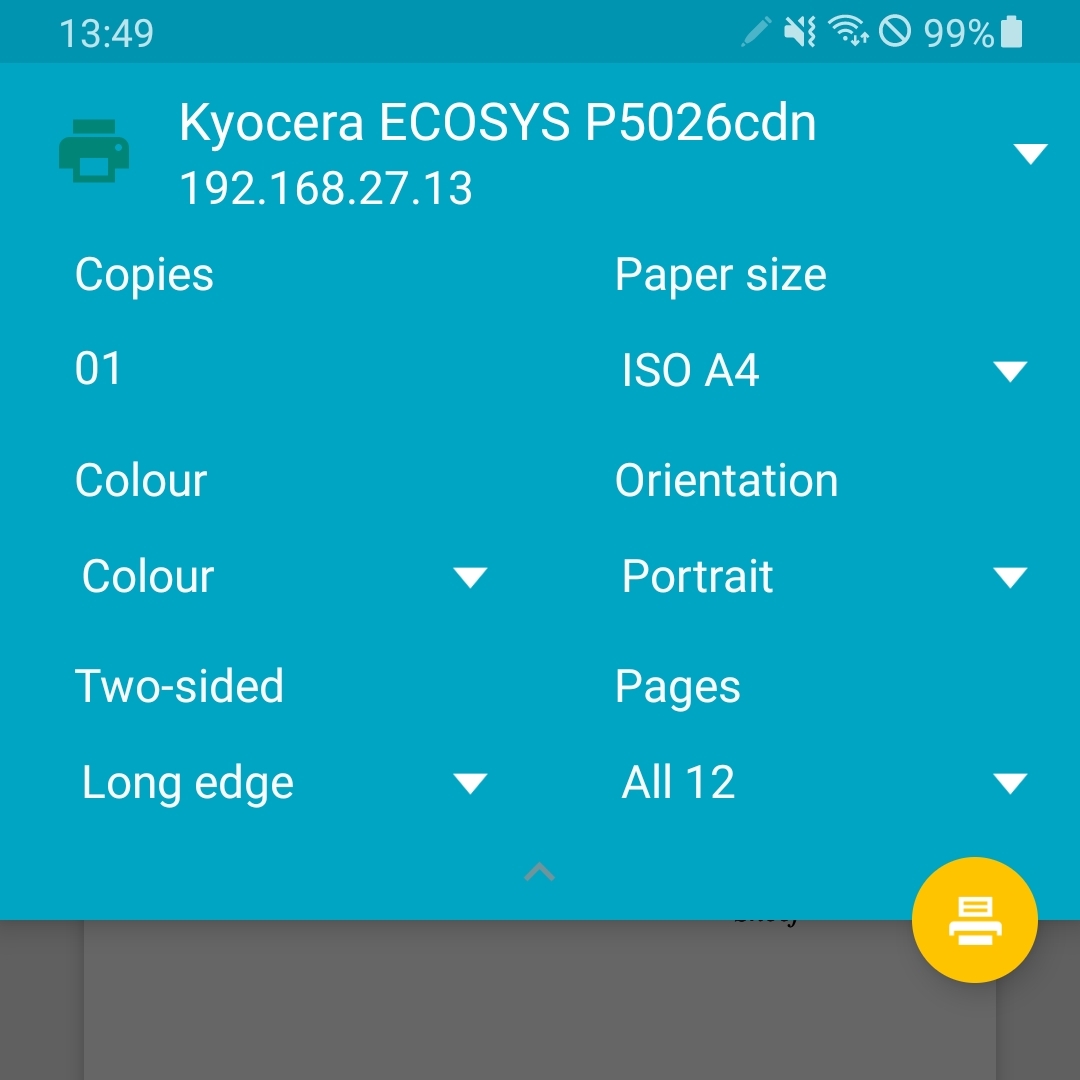
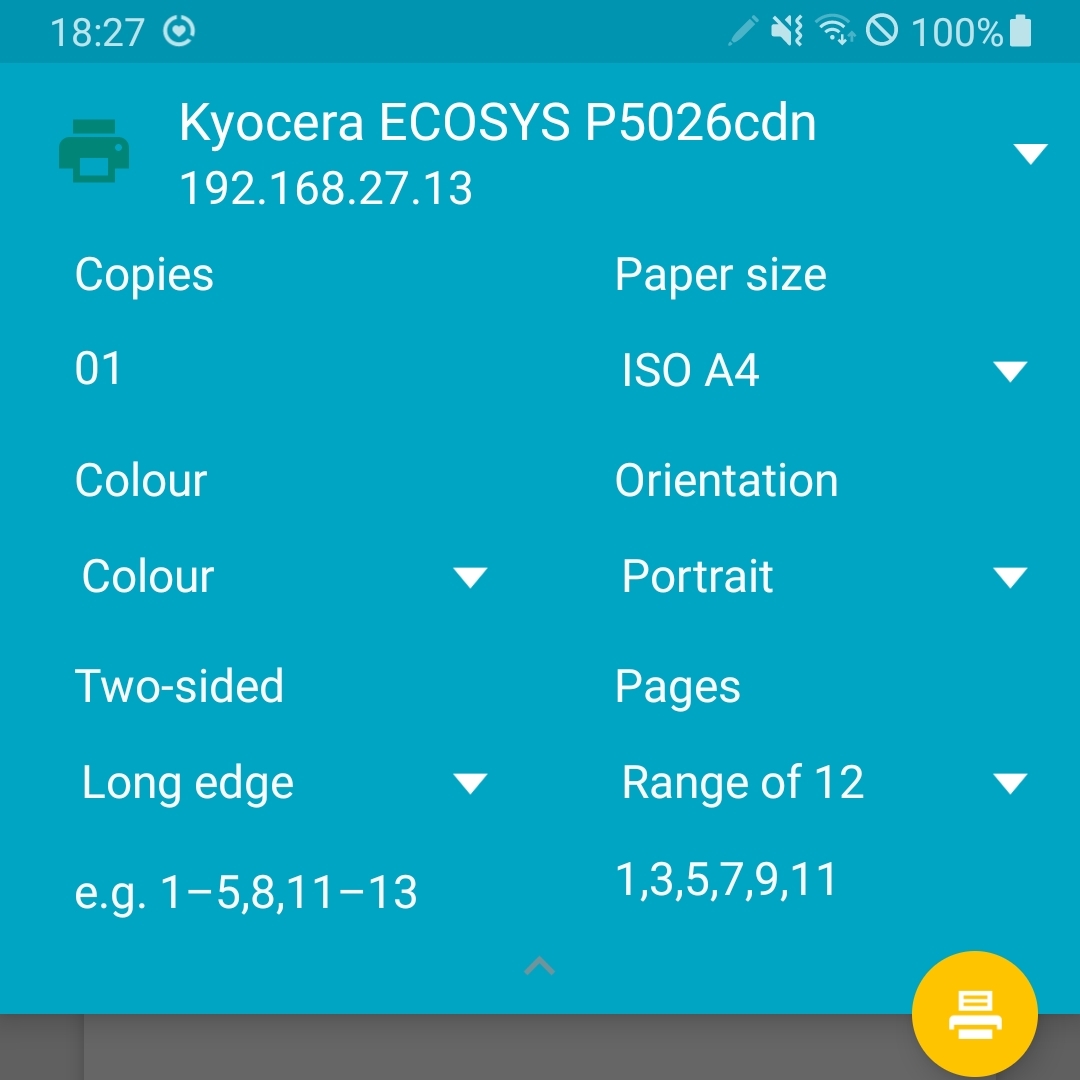
Click on the generated PDF to bring up the Android printing dialog:
Send / Share the PDF file to yourself
This allows you to send the PDF to, say, your Windows PC where printing using the standard Adobe printer driver is better suited for control of the print process.

Having printed all the odd pages, return the paper to the manual feed tray of your printer, select Even pages only this time. And, depending on your printer, you might need to select Reverse pages as well.
You should now have a stack of pages ready for assembly.
Assembling your booklet
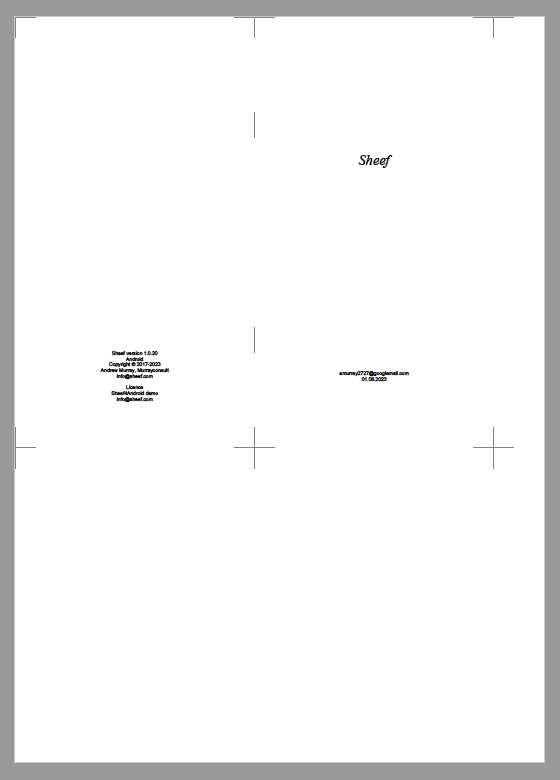
The top sheet of your book pages should be the external covers, with stapling and cutting marks
First you should staple the sheets on the two staple marks between the front an rear cover pages.
Next, fold the book along the centre line - this is where the staples lie.
And finally, trim the book using the cut marks around the outside of the cover pages.
Settings
These settings apply system-wide and will be saved to your Android preferences:
| Book title | The text printed on the front cover. You can insert the html newline tag <br> to insert line breaks. |
| Local contacts identifier | Sheef uses this string to identify contacts that are stored locally on the smartphone. The default string should work for most common smartphone manufacturers. |
| SIM contacts identifier | As above, but for identifying contacts (if any) stored on the smarphone's SIM card |
| Imperial | Metric units are displayed by default, but you can have Sheef display in inches by turning on this option |
| Register | Whether you want register tabs in the margin of the page for each new letter/group |
| Print helpers | Choosing this option tells Sheef to add extra information at the bottom left of each paper side to help you when printing, assembling, and possibly re-ordering your printed pages. |